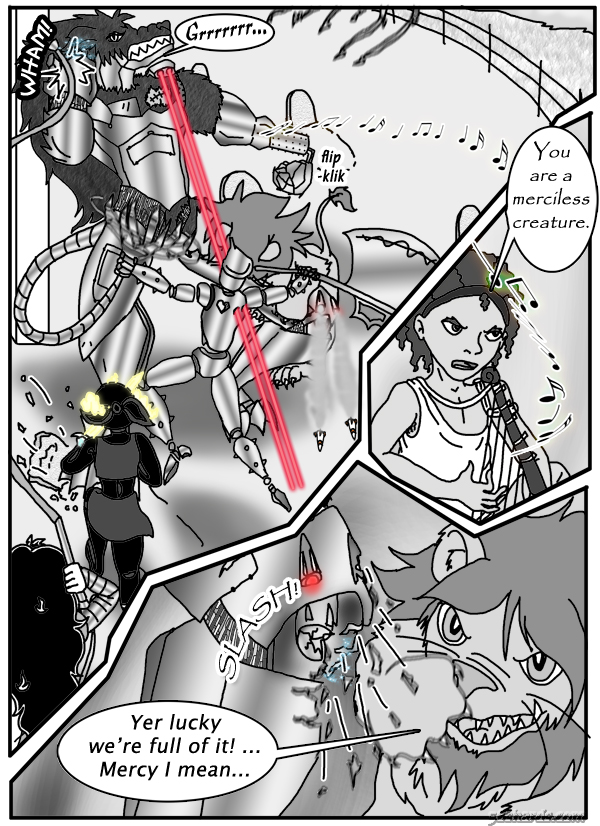
ch.3, pg.114: “Mercy Me”
So happy to have this one done! It took a while to plot out and it turned into two separate strips. Here is the first part.
Note: One of the things TB wanted me to do during this fight is to show that the BBW does not use the same attack twice. He doesn’t need to. Got such an arsenal of gear and assets, he just lets it all out… eventually. Haven’t gotten to the stuff on his back yet. I’m sure that’s next, given that our heroes are showing their strength now.
Also, I want to amend the Magic Mirror I previously linked to. I will be adding three more shards soon and have place holders for them at present but may I present the corrected Magic Mirror:

Corrections: Dorothy’s shard actually wasn’t in the last one and should have been. I had the 4-Spades shard up instead of her 4-Hearts shard. I sometimes get spades, hearts, and clubs confused… Eh. It’s fixed now! Also, I mixed up Dr. Muffet’s 10-Clubs shard with Mr. T-ore’s 10-Spades shard. Ignoring that some heroes are off somewhere, this is what it will look like when everyone is back at HQ. This final version will appear on an Extras page soon where I plan to put up a table of who has what shard, if you’d like that sort of thing.
The plot and storyline of Shards is so big that we need to know exactly who has which shard at every given time throughout the story so having the Magic Mirror visually at different stages will be both an asset and a great visual for everyone who reads the comic:) I also keep very good notes on where each shard is at present, who has it, and when the heroes and other factions encounter most if not all of them. With this much detail, there’s little room for error, like picking a shard belonging to a different character later on in the plot based on where it sits in the Mirror and what it attaches to and if that has an impact on the characters it influences later on in the story;)


And every time I add one to the Magic Mirror pic above? I pull out my hard copy, look at the back because I marked which way is up, and draw it from that. Made to insure there was only a single way all the pieces would fit together.
I was half expecting BBW’s laser weaponry to provide a “glowy red dot” distraction to the resident Big Cat. ;D
Love this massive takedown page!
Our new battlecry: “We’re full of it! Mercy, I mean”